
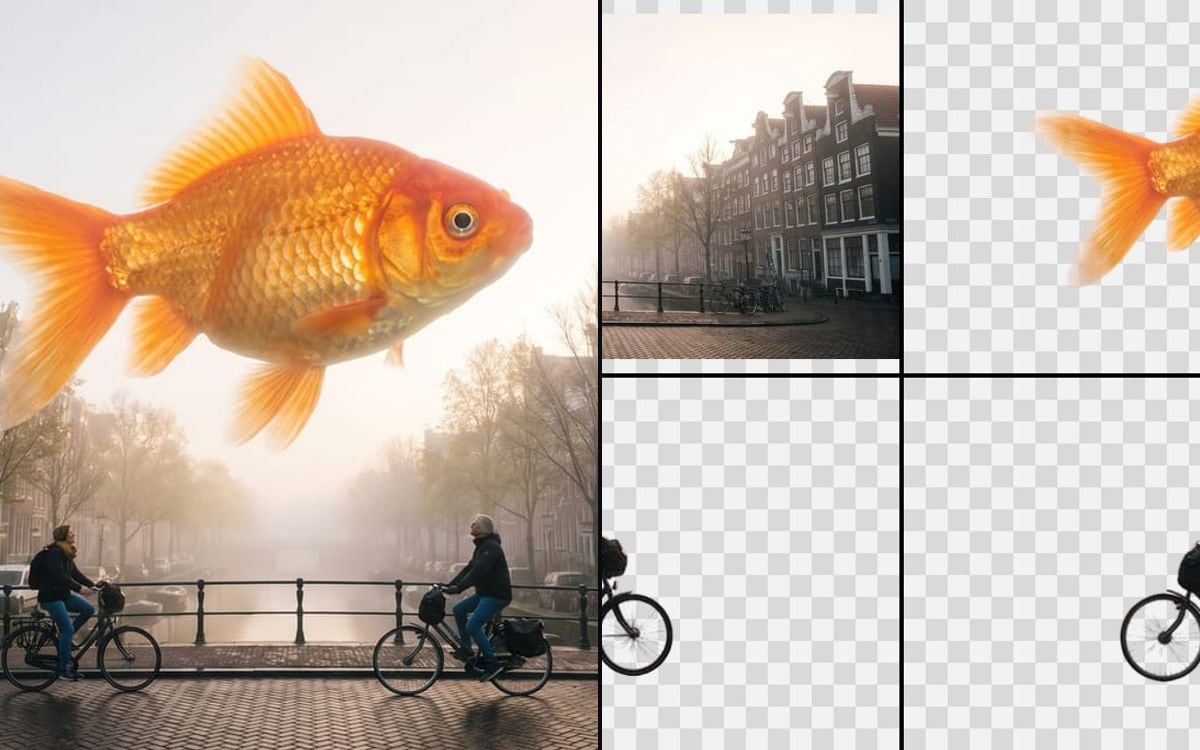
How it works
- 1Bring the imageA photo, an ad or a scene you made here, with a few clear objects in it.
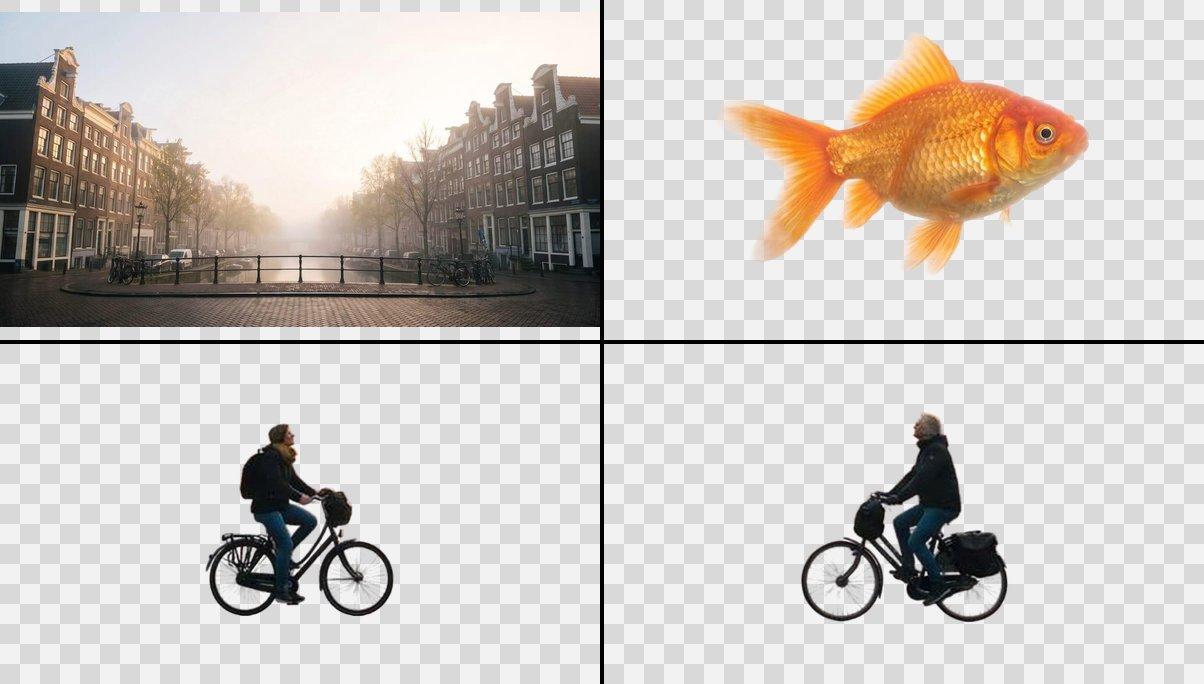
- 2Let it separateIt finds the objects, cuts each one out, and fills in the background behind them.
- 3Move things aroundEvery layer lands in your library, ready to place, resize or swap.
What people make with it
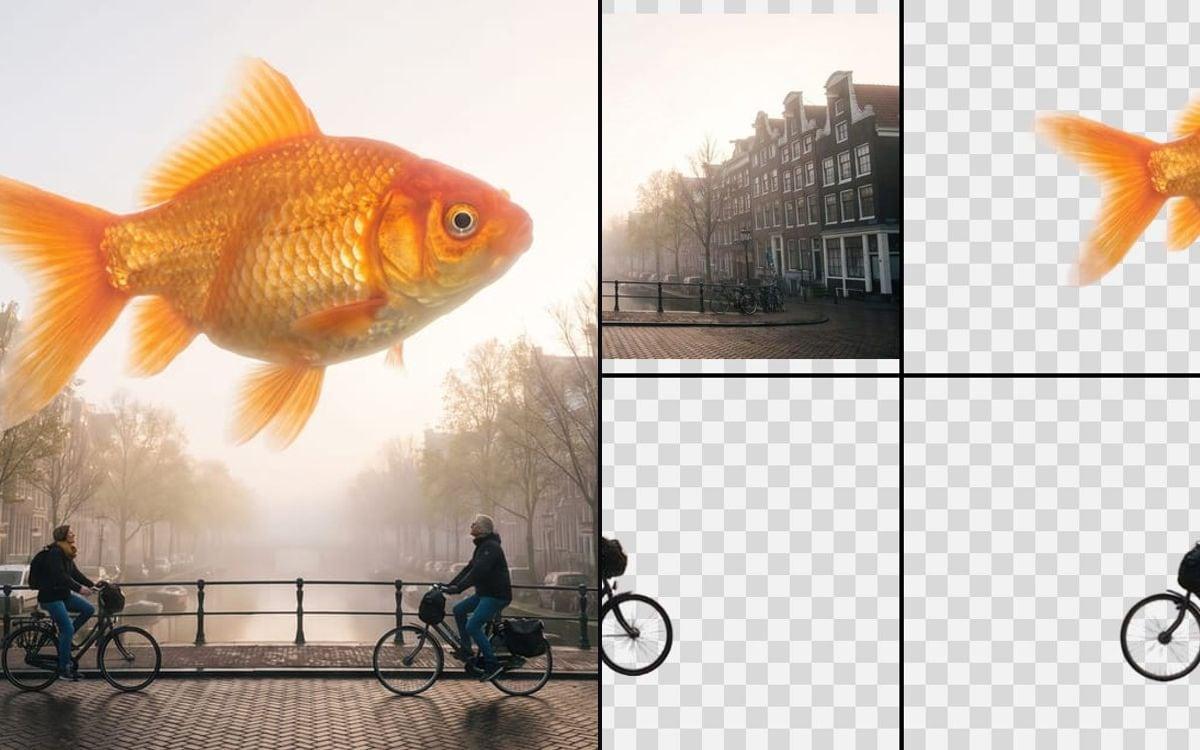
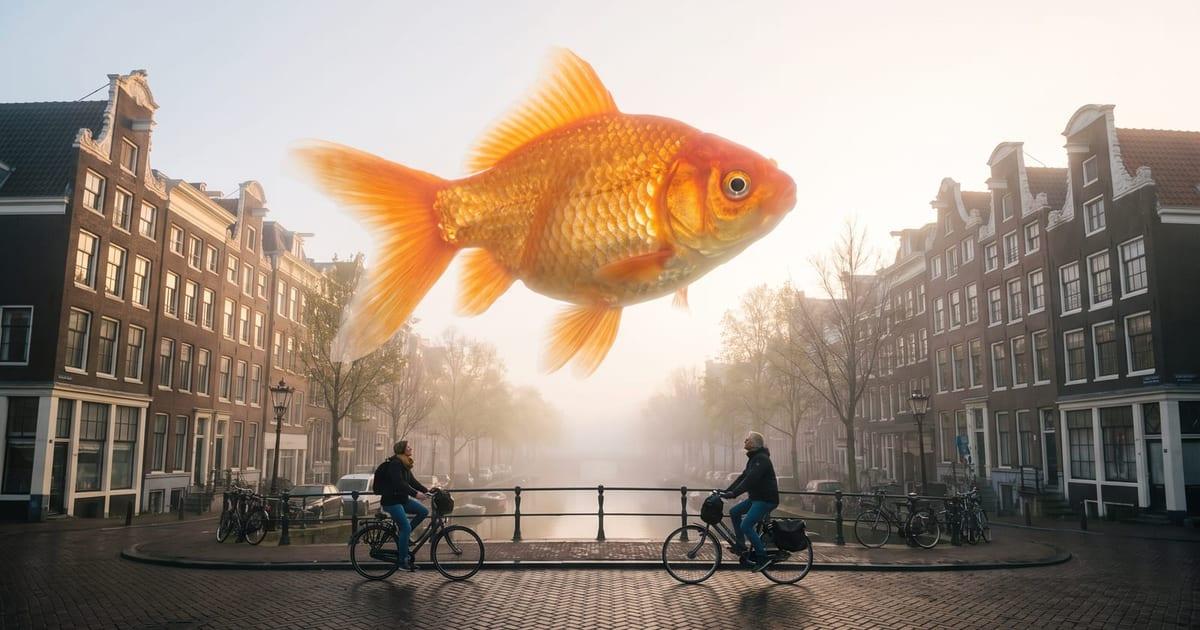
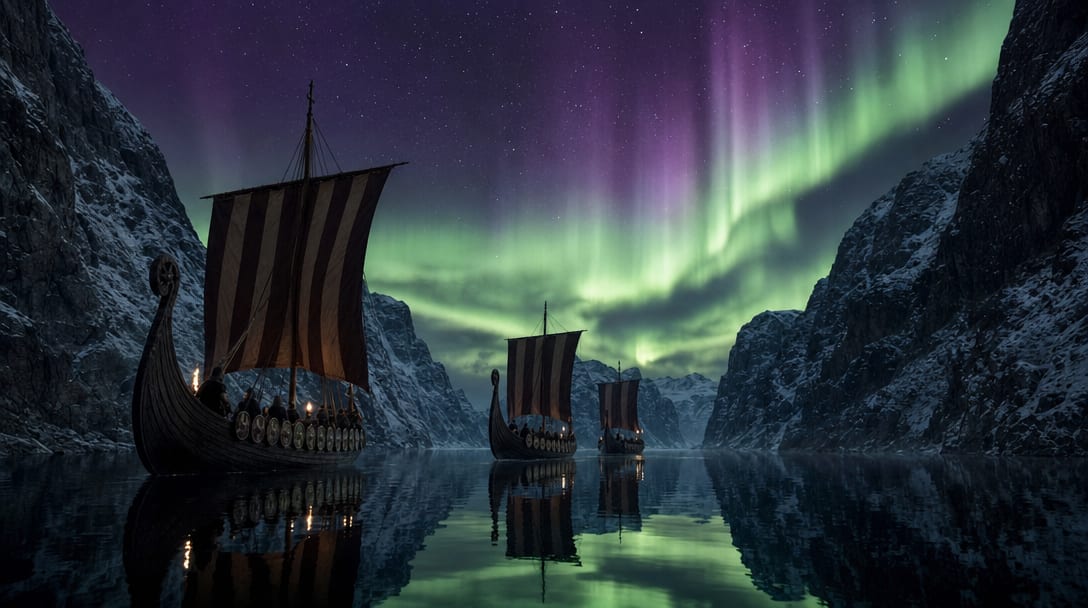
Bring the file, get the result
Pick the tool, drop in your image or clip and it is done. You start with 1,000 free credits.
Get early accessGood to know
Up to ten images back
The background plus up to nine objects. A busy image gets the biggest objects as their own layer.
You pay per layer
The button shows the maximum; you pay for the layers it really made.
Questions
What do I get back?
The background as one image, and every object as a transparent PNG, all in your library.
Can I say which objects to separate?
Yes, describe them in the prompt in the Studio, such as the bottle and the glass.
What does it cost?
A small amount per layer that comes back, plus a fixed part for the input. The maximum is on the button.
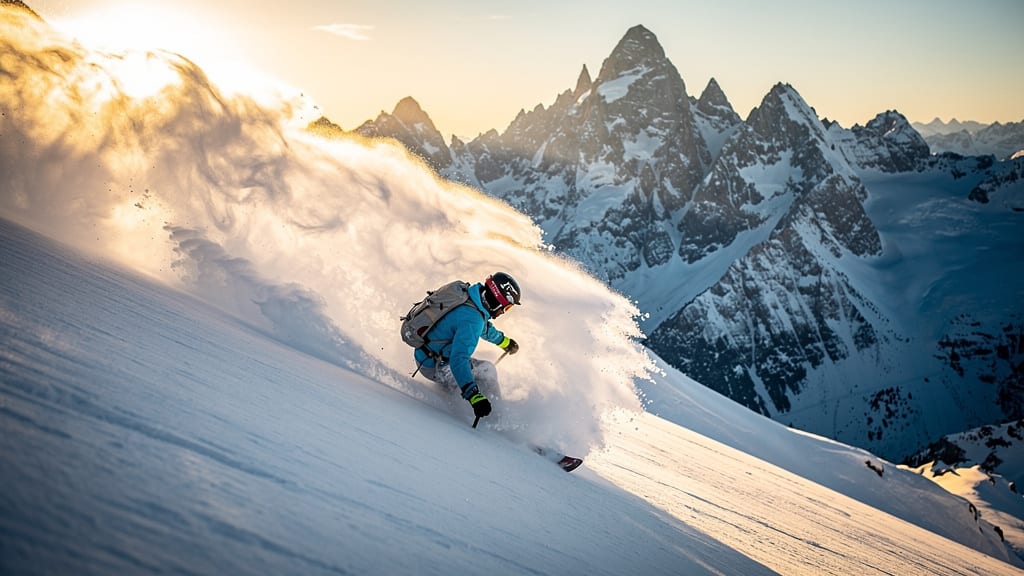
Bring the file, get the result
Pick the tool, drop in your image or clip and it is done. You start with 1,000 free credits.
Get early accessAlso in the studio
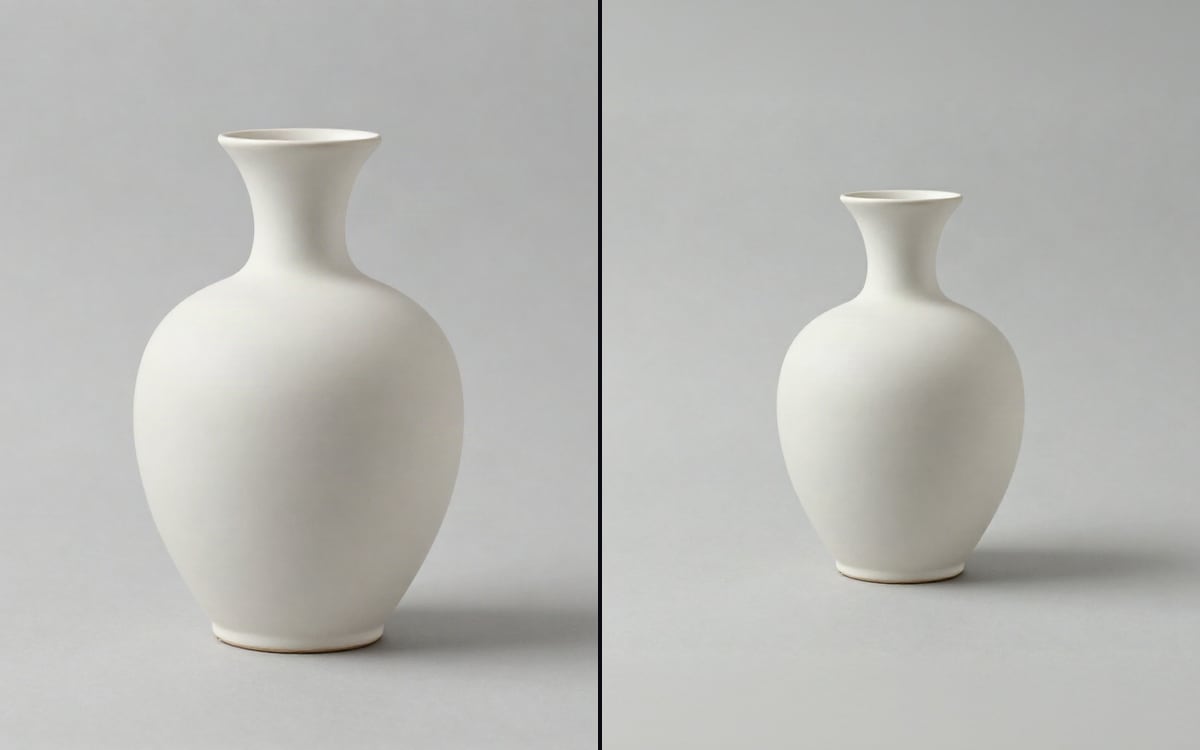 Expand imageWiden a picture beyond its edges. Pick the shape you need, no prompt required.
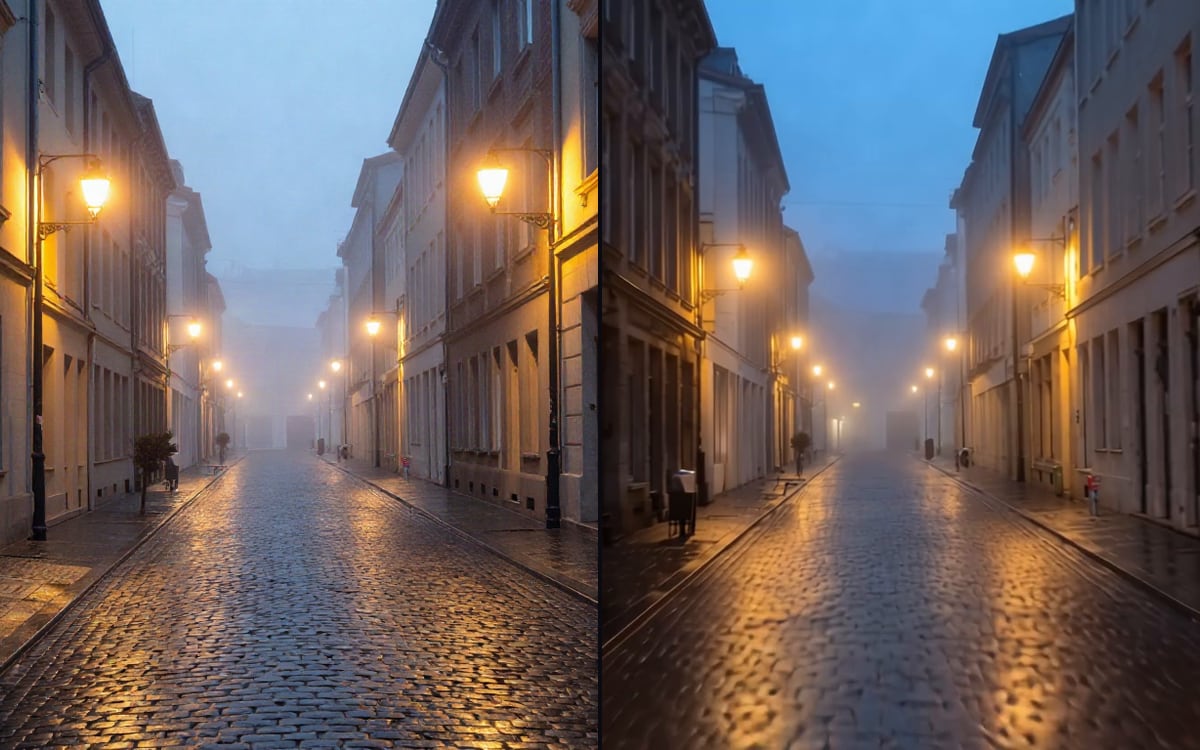 Transition between two framesGive a first frame and a last frame, and get the clip that runs between them.
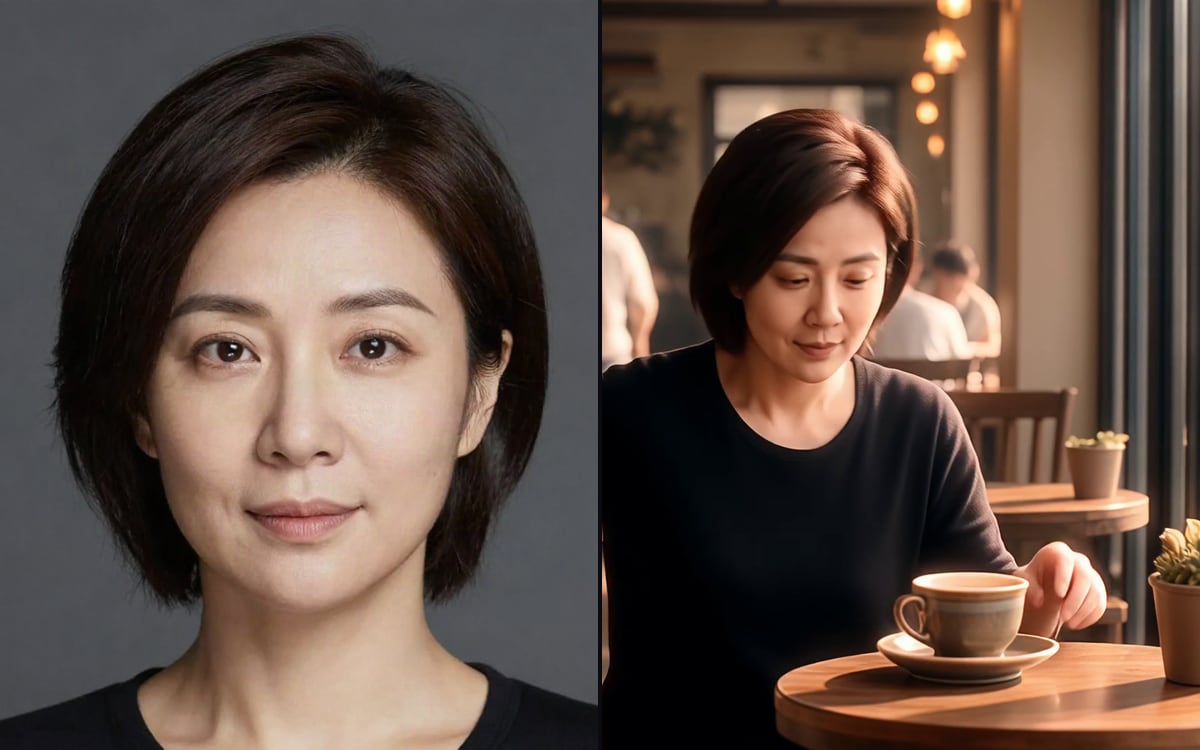 Keep the same characterReference images that carry one person, product or place across a whole sequence.
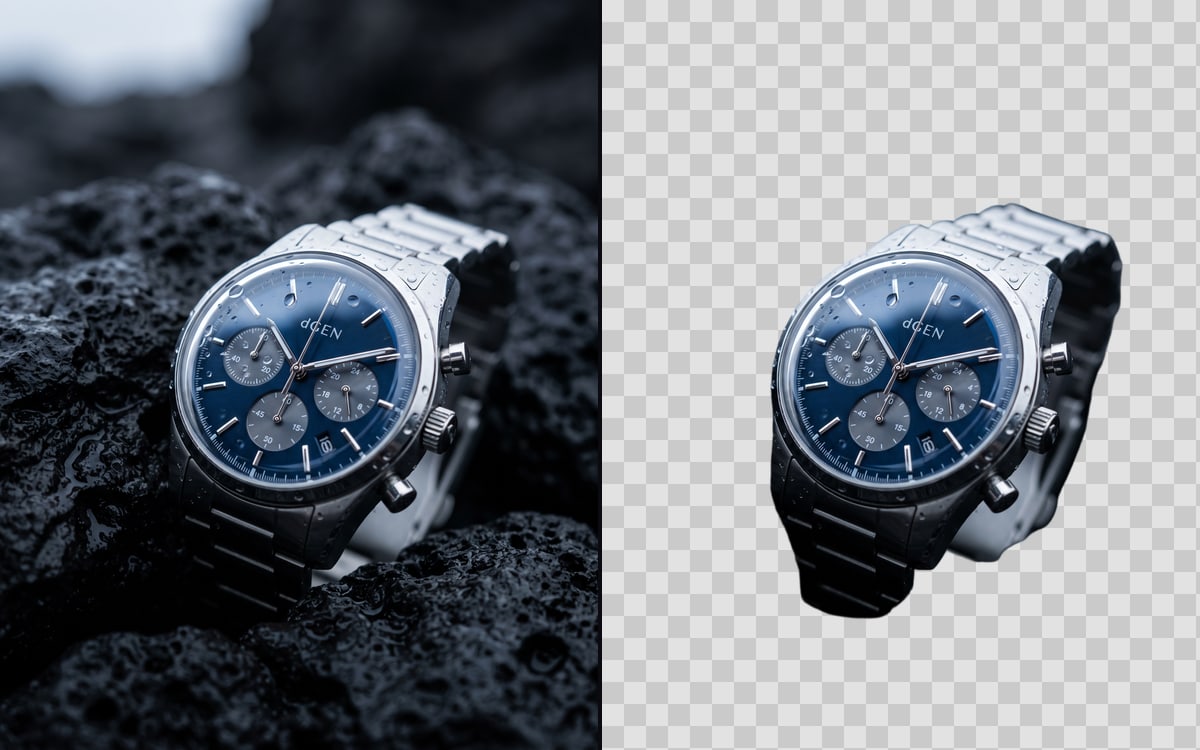 Remove an image backgroundCut the subject out of a photo and leave the background transparent.
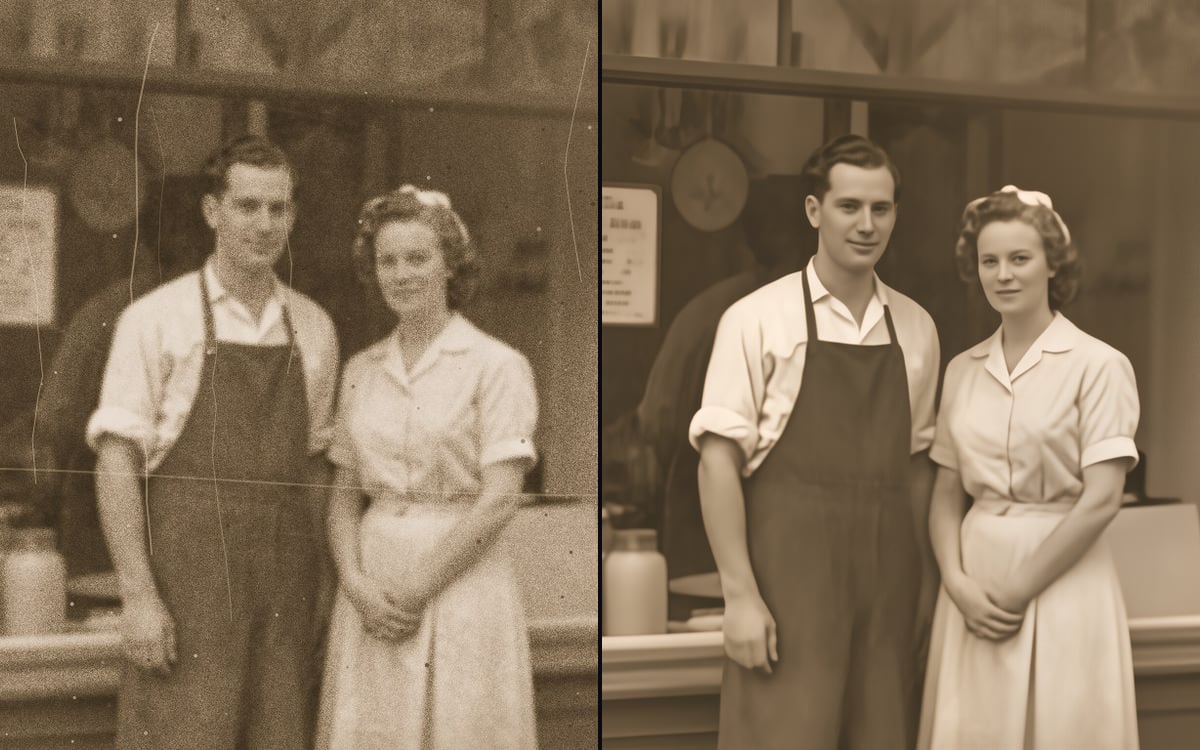 Restore an old photoBring back an old, scratched or faded photo, with scratches, dust and creases taken out.
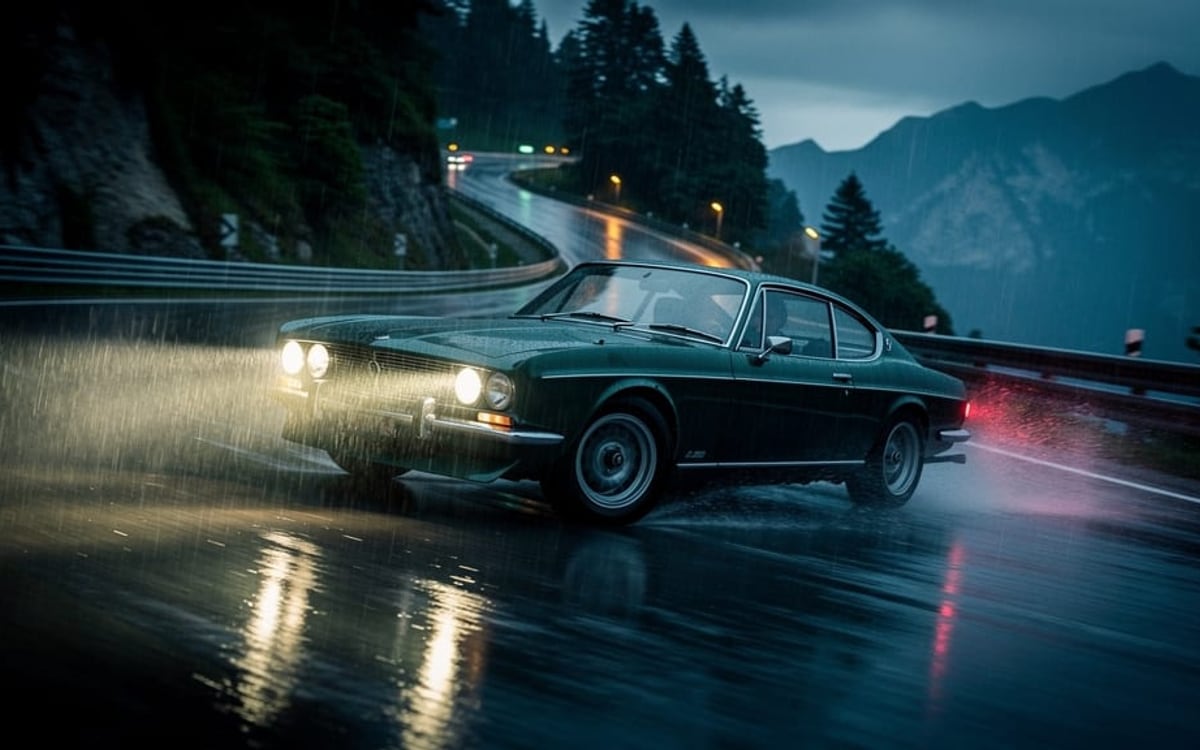 Add sound to a videoGive a silent clip sound effects that land on what happens in the picture.
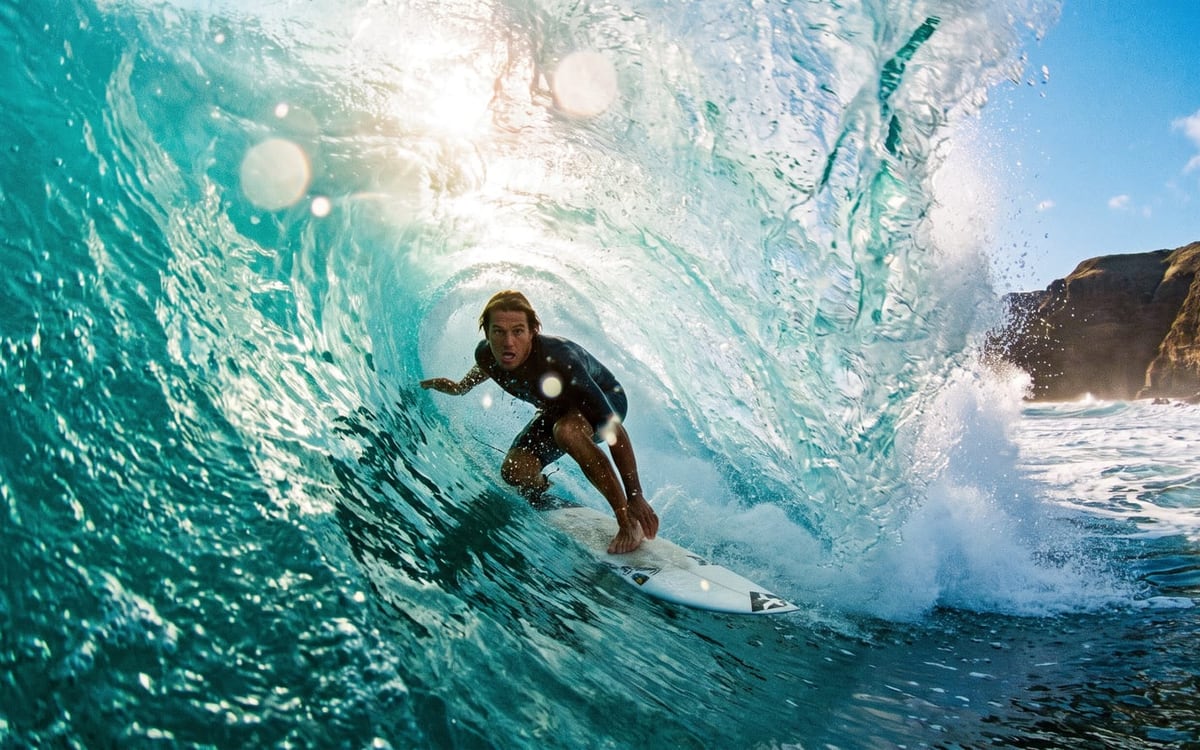 Add music to a videoMusic written to your clip, with the beats on the cuts, mixed in underneath.
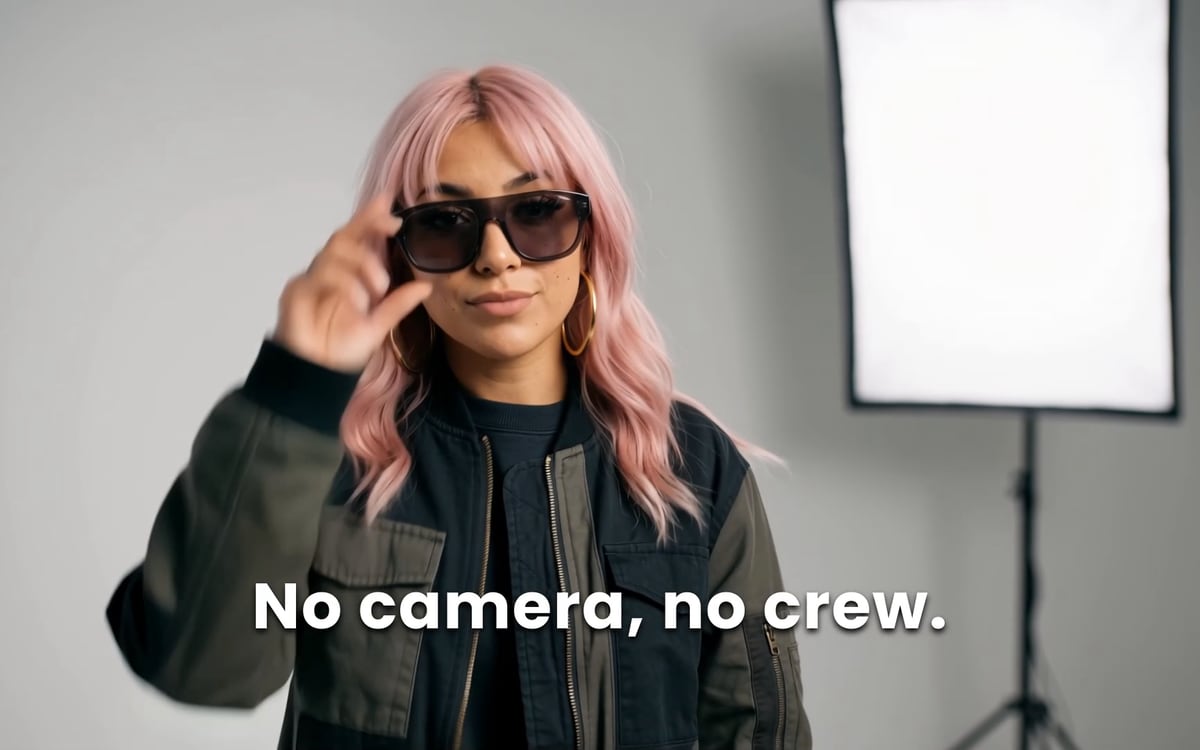 Add captions to a videoBurned-in captions for every word that is spoken, in a style that reads on a phone.
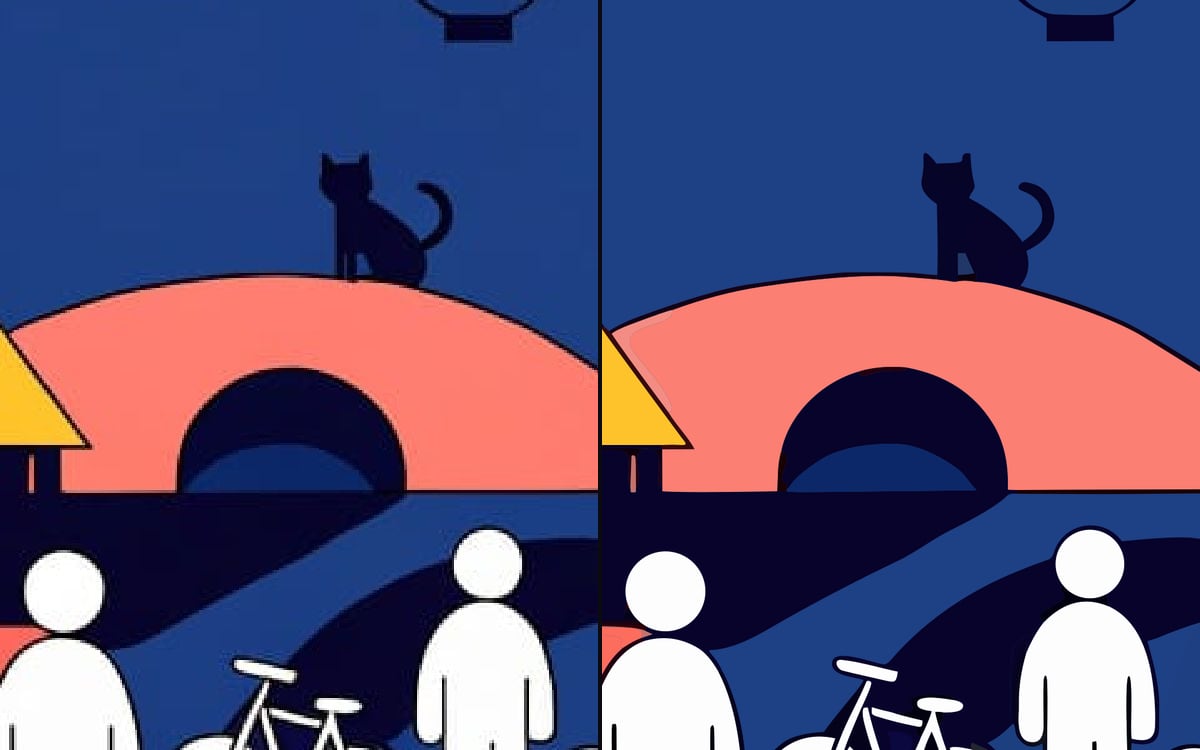 Vectorize an imageTurn a logo, icon or illustration into an SVG that stays sharp at any size.
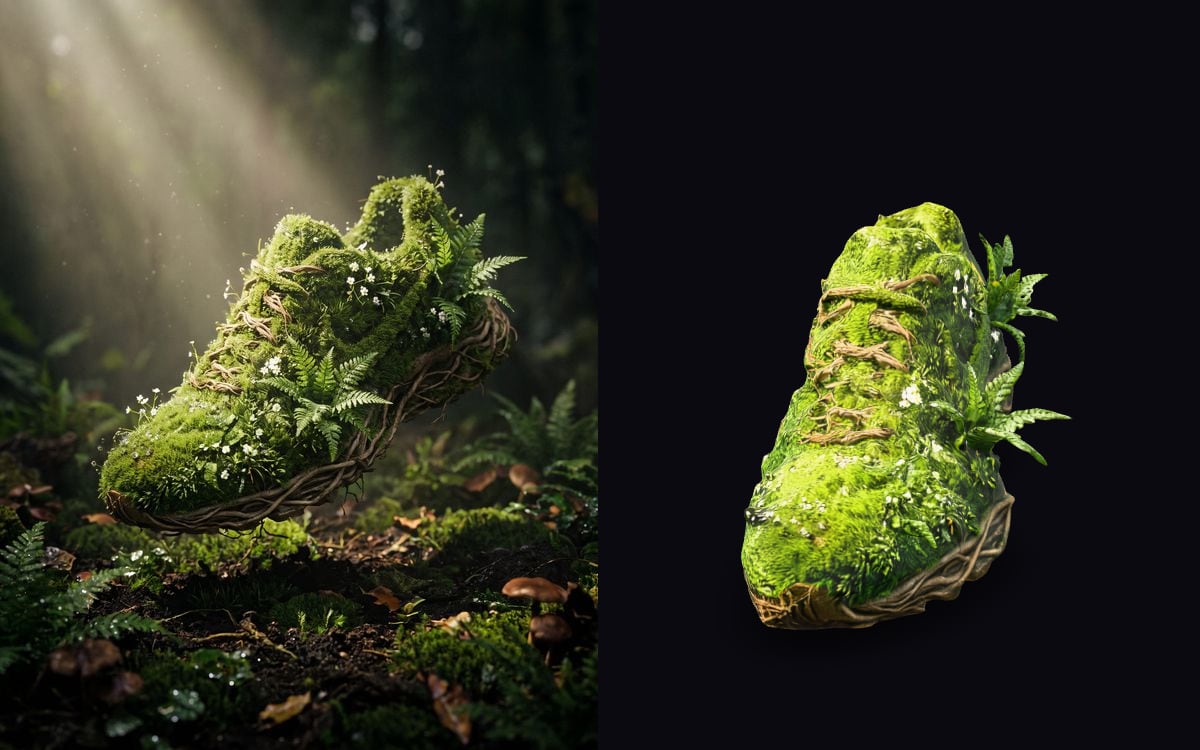 Turn an image into a 3D modelOne picture becomes a textured 3D model you can turn, use in a game or place in your room.
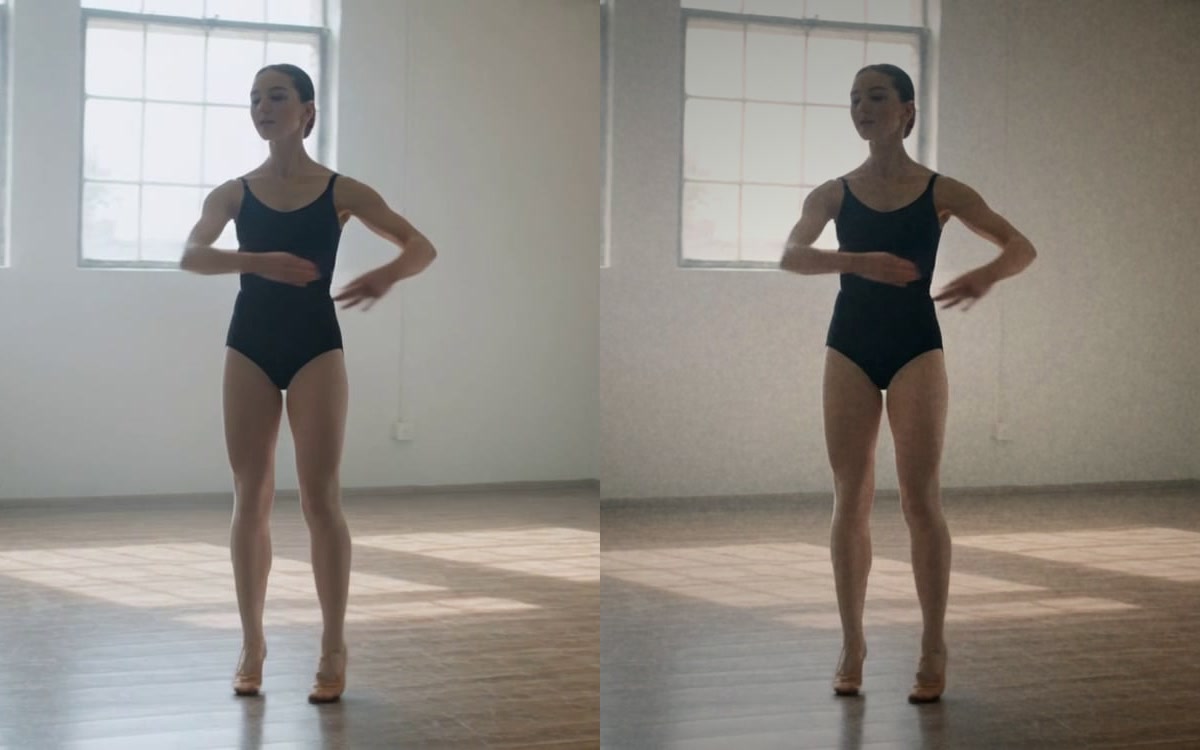 Finish an imageFilm grain, a vignette and a colour correction, so a generated image looks shot.
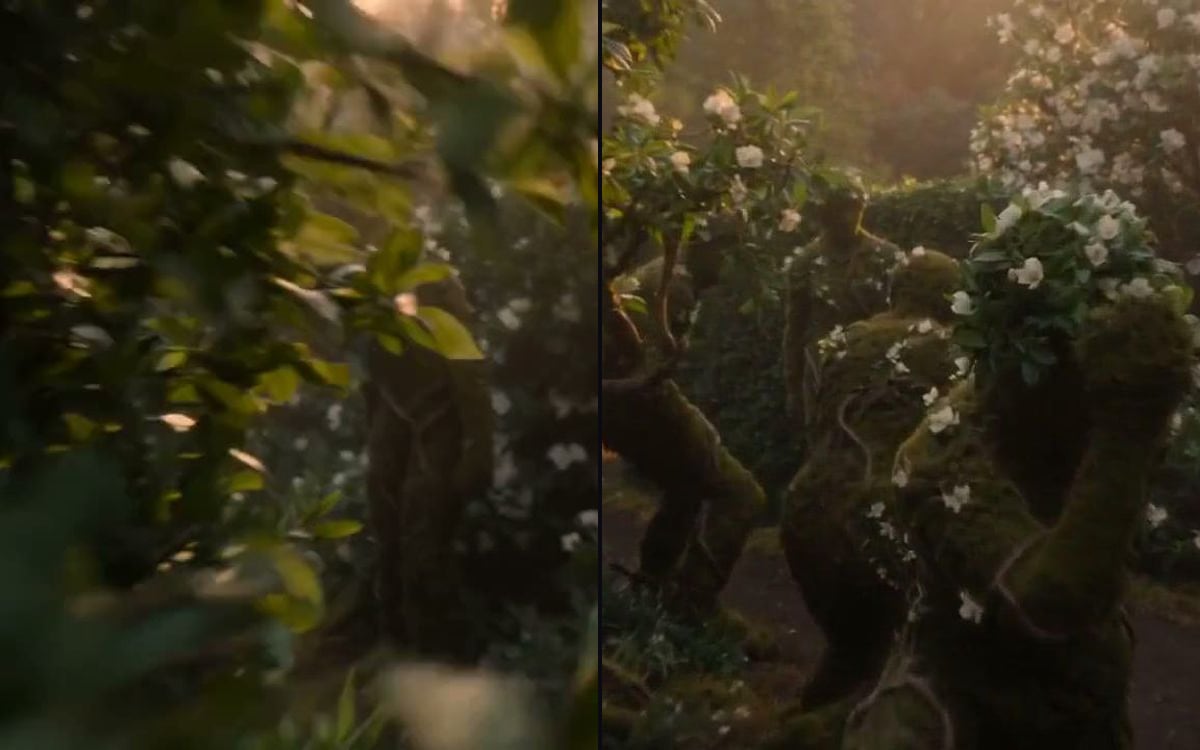 Get a frame from a videoKeep the first, middle or last frame of a clip as an image.
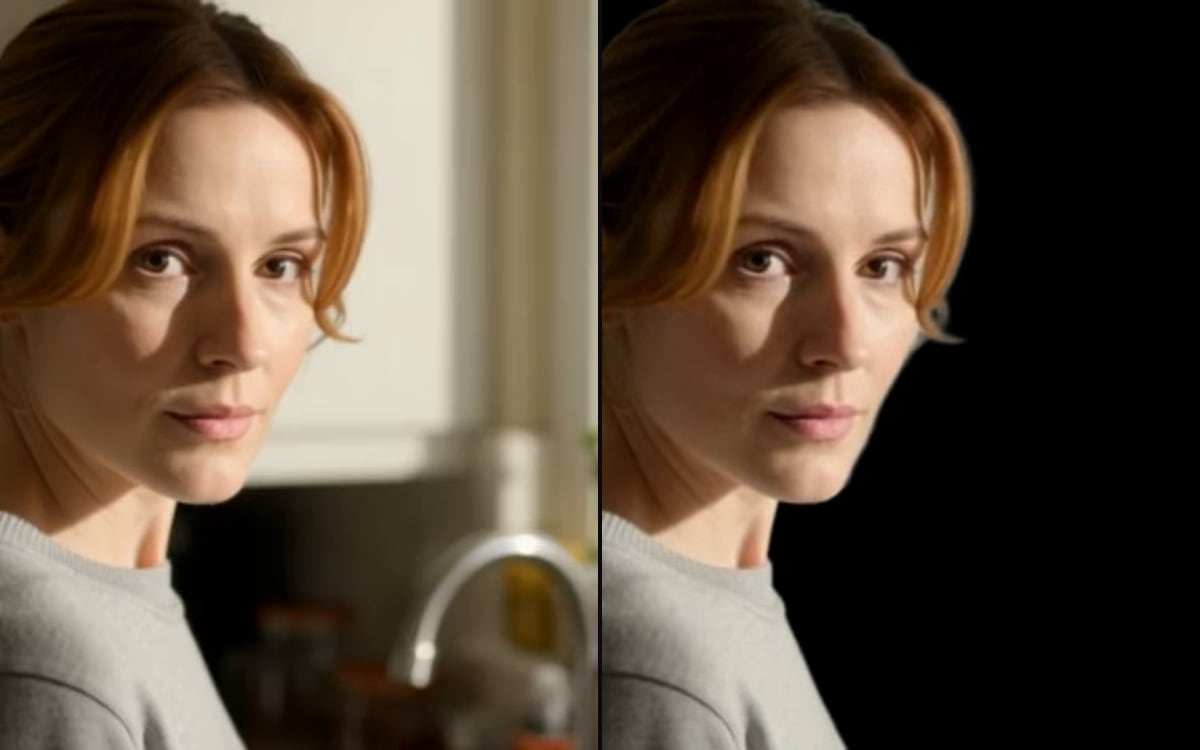 Remove a video backgroundCut the subject out of a clip and leave the background transparent.
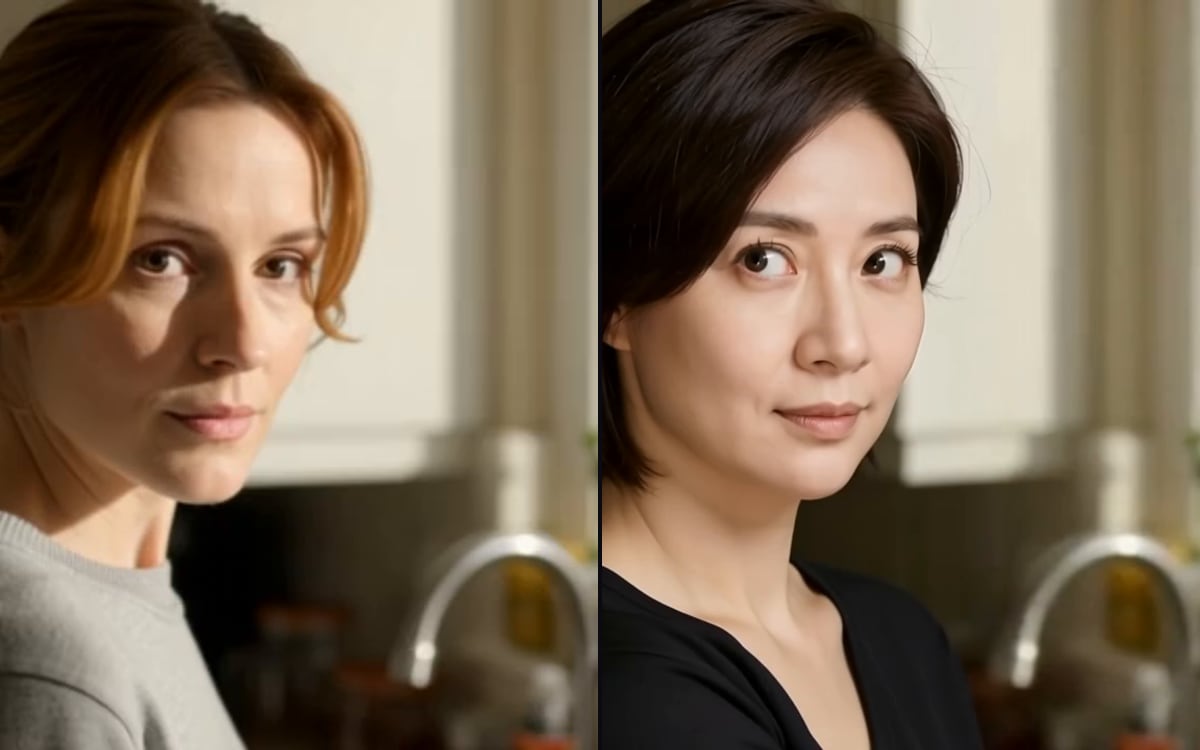 Face swap in a clipPut one face into an existing video. Only with permission from the person in the picture.
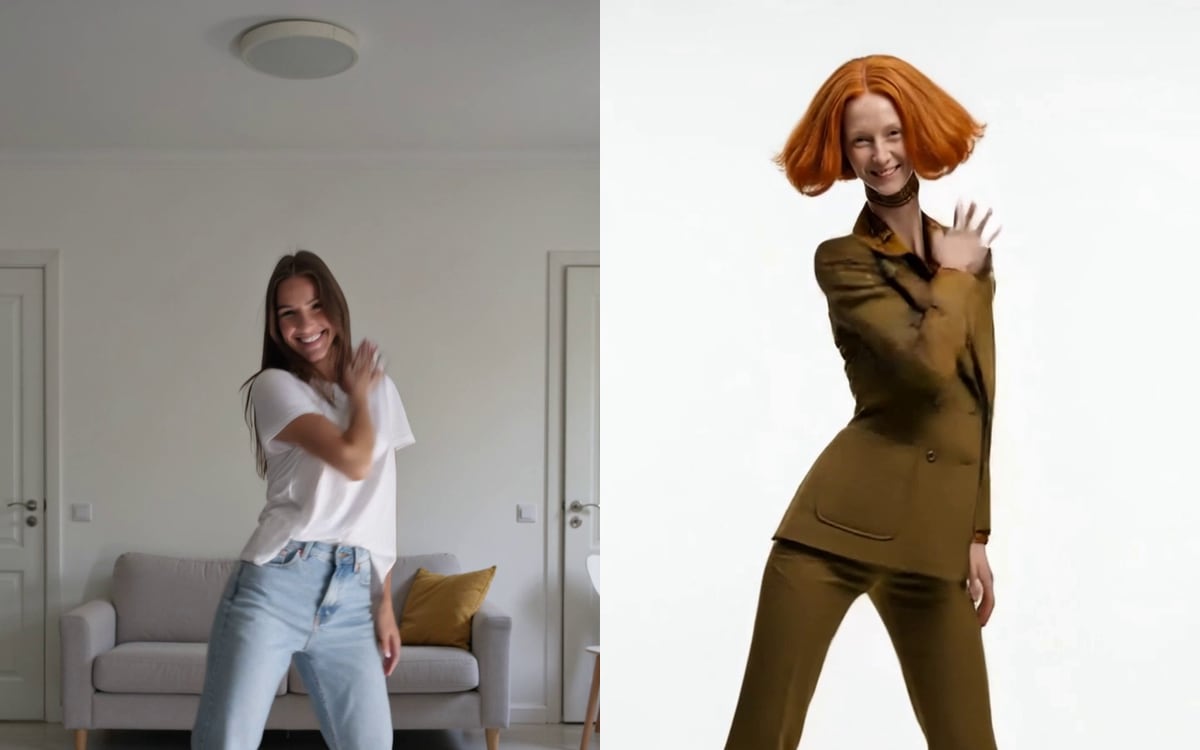 Make your character move like youFilm a move once, and your character does it: the same steps, the same timing.
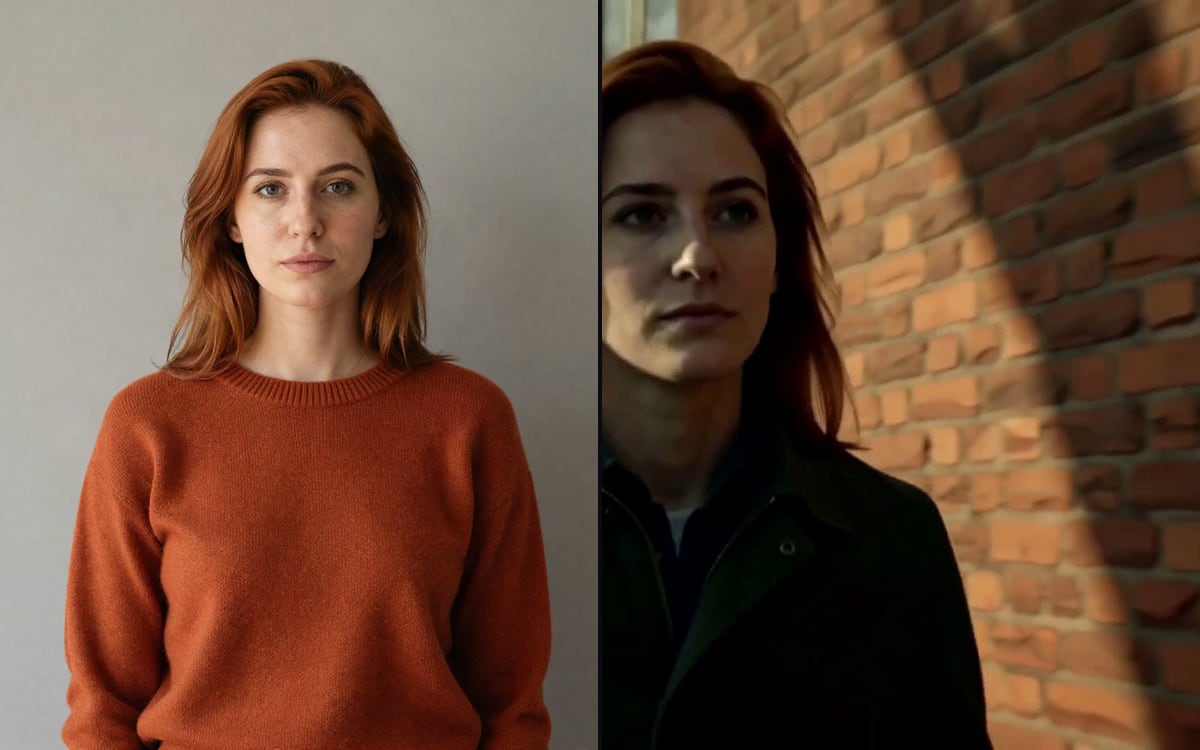 Recast a videoSwap the person on screen for someone in a photo. The motion, the cuts and the sound stay.
 Extend a videoMake a clip longer. Describe what happens next and the video carries on in the same style.
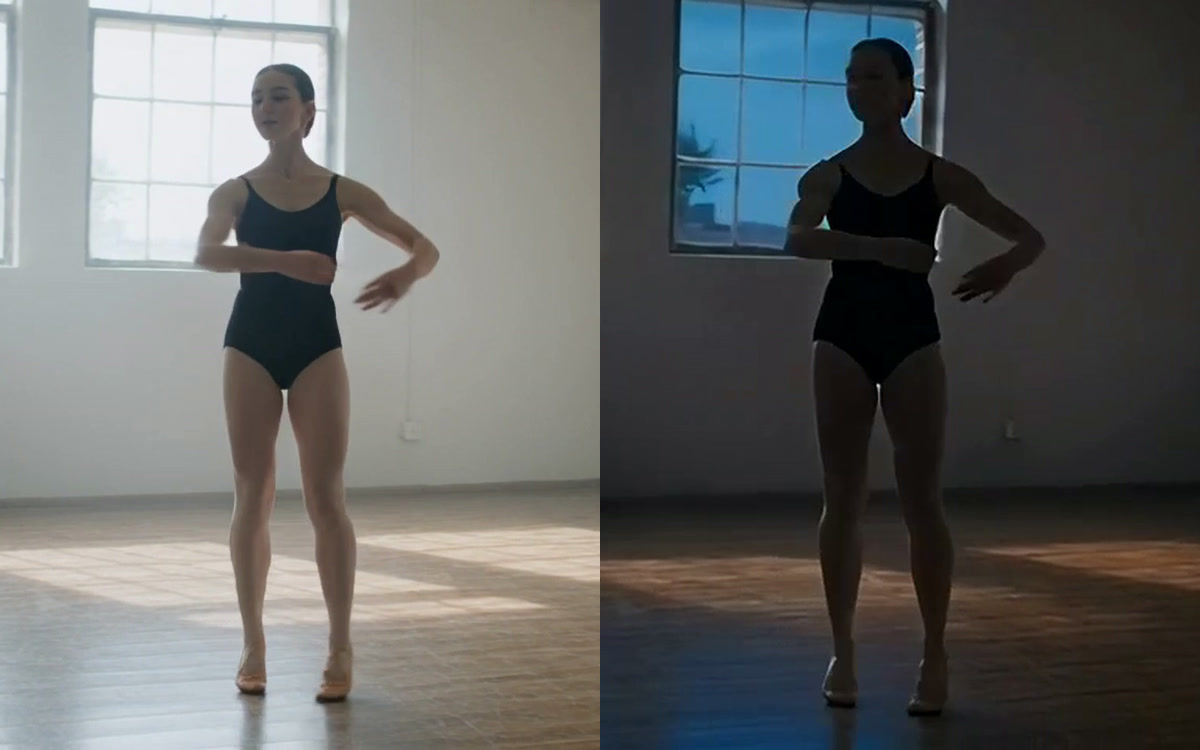 Change anything in a videoSwap a person, an outfit, a product or the whole look of a clip. The motion and the framing stay.
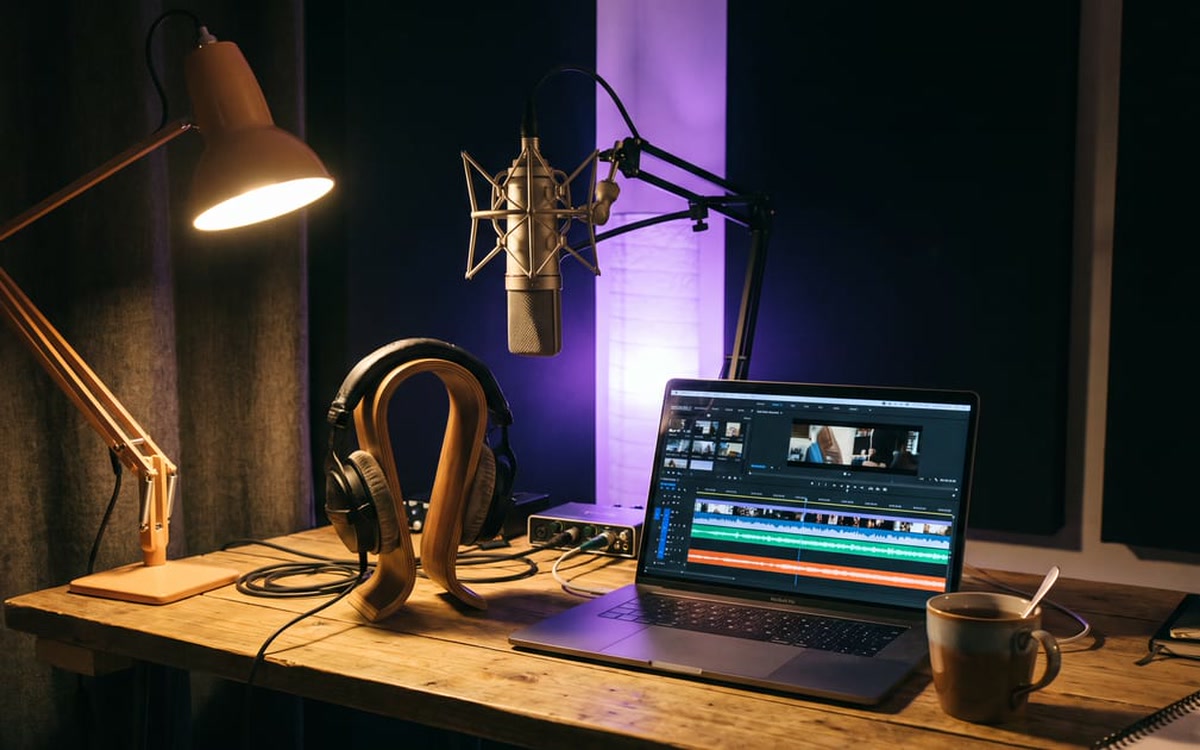 Change a voiceSay it once in your own voice and get it back in another. The timing and the emotion stay.
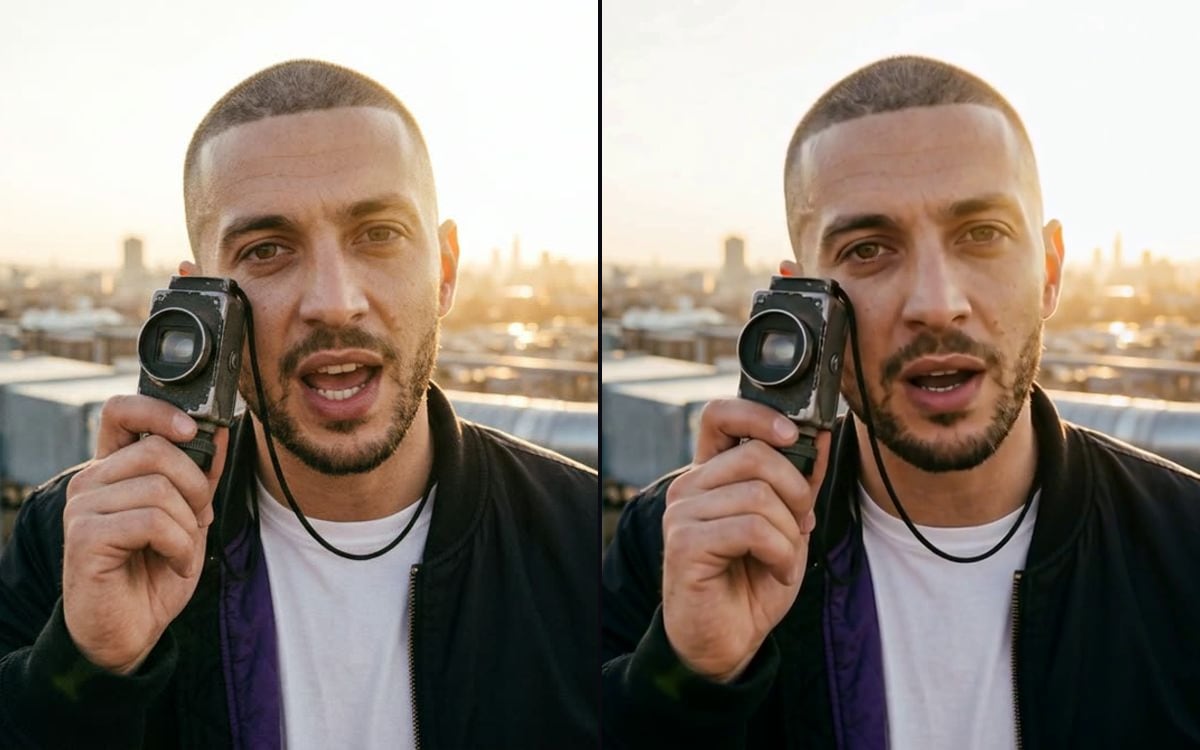 Make a photo talkGive a face in a photo your audio. The lips follow the words.