
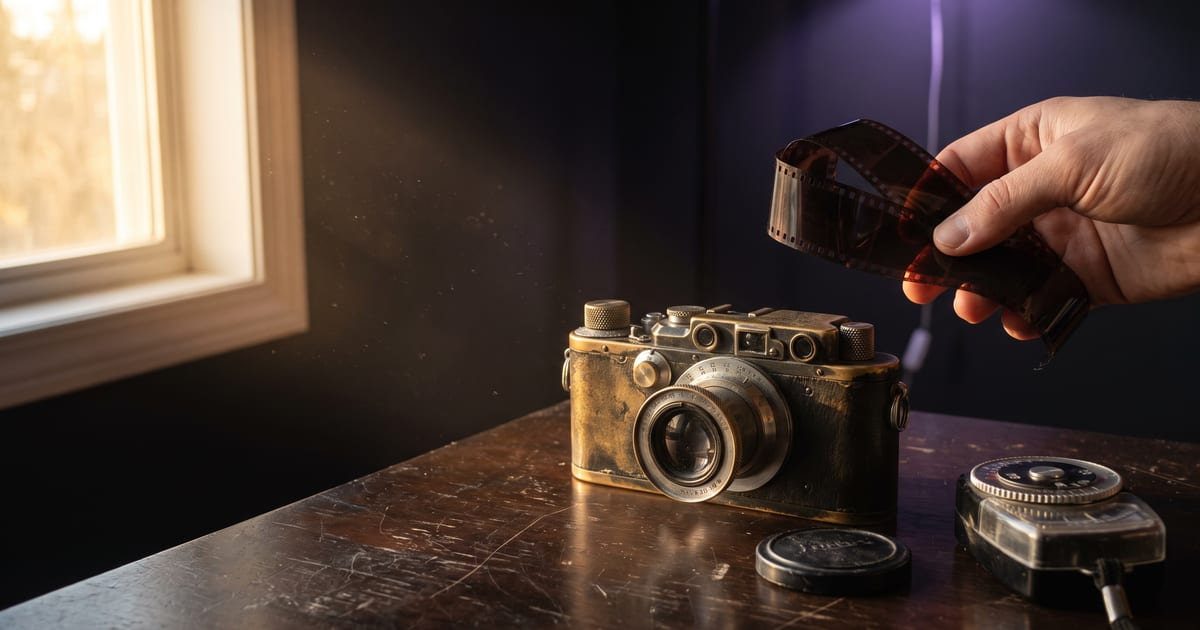
Why a clean clip gives itself away
Most generated video does not look fake because of one big mistake. It looks fake because everything is a little too perfect at once: light that comes from nowhere, colours a shade too bright, edges that are razor sharp into every corner, and a person doing three things in four seconds.
A real camera never sees the world like that. It has a lens that darkens the corners and bends colour at the edges, film or a sensor that adds grain, and a person behind it who points it at one thing. This guide goes through what to add, in the order it matters, and where each part sits in the studio.
1. Plan the shots as stills first
A clip costs roughly ten times a still. Before you pay for motion, make one still per shot and look at them in a row: is it the same person, the same place, the same light? This is what a film crew calls previs, and it is the cheapest place to fix a story.
Ask the AI Assistant for more than one shot and it answers with a script; the first button is Storyboard on the canvas. In a film from a link or from your own script, the Scenes step starts with Keyframes first: the location and every keyframe, at a fraction of the price of the clips. Redo a keyframe on its own node until it is right, then press Run the clips. What you approved becomes the start of each clip.
2. Give the light a source
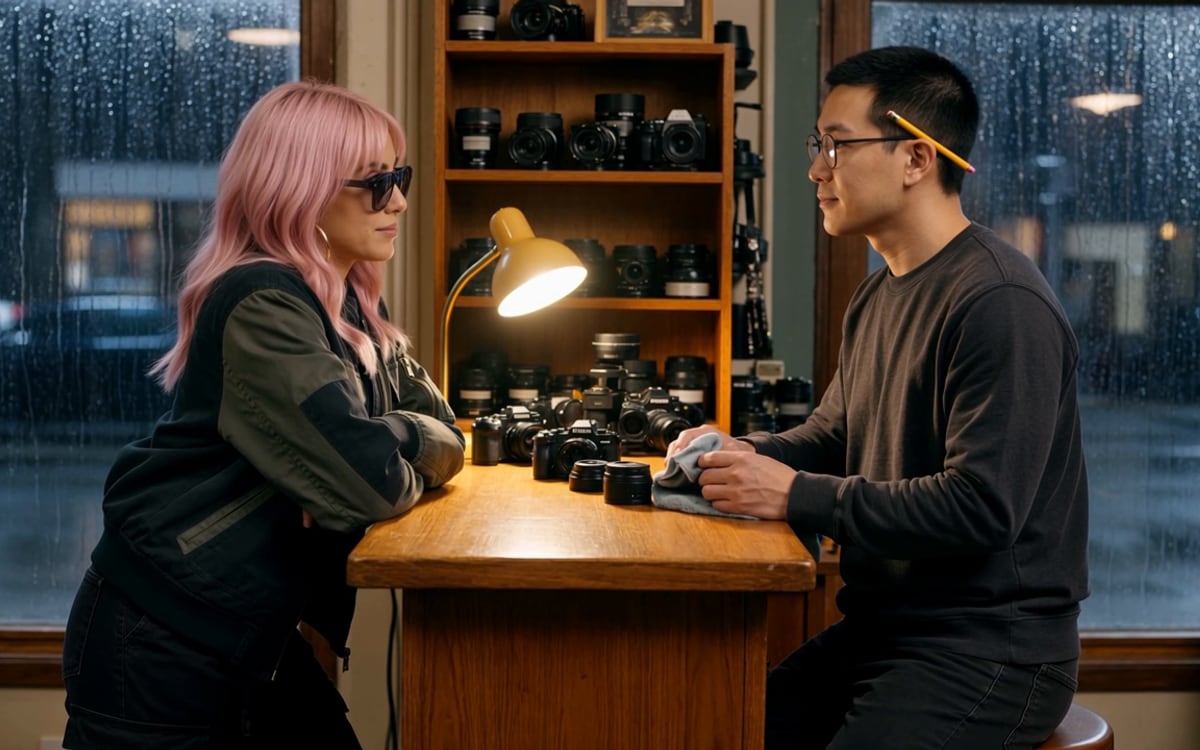
Light is the strongest signal of all. In a generated frame it often comes from everywhere at once, so nothing casts a real shadow. In a filmed frame it comes from somewhere: a window, a lamp, the sun at a certain height.
Write where it comes from, from which side and at what time: "late-afternoon sun through a window on the left", "one desk lamp, the rest of the room dark". The prompt enhancer now adds this by itself when you have not set it. The Light presets give you the same in a click: Golden hour, Soft window key, Hard noon, Practical night, Overcast and Blue hour.
3. One action per person
A person who turns, waves, picks up a cup and smiles within five seconds moves like a puppet. Real people do one thing at a time, and a shot usually shows one of those things.
Write one action per person per clip, and say how fast: "she slowly lifts the cup". If more has to happen, make it the next shot. The enhancer keeps the first action and leaves the rest for after; that is why a clip from the enhancer can be shorter than your idea, and better for it.
4. A camera that behaves like one
Choose one camera move and keep it small. Locked off for a calm frame where only the subject moves, Handheld follow for a scene that should feel lived in, a slow Dolly in to draw the viewer closer. A crash zoom and a whip pan in the same shot is a showreel, not a scene.
Lens presets do the rest: 35mm for a room with people in it, 85mm portrait for a face, f/1.8 shallow to let the background fall away the way it does on a real lens.
5. Add the flaws a lens adds
Under Look there is now a group called Imperfections. Unlike the other groups you can combine them, because a film look is the sum of small flaws. Each one goes into your prompt in fixed words, so the model reads the same thing every time.
- Film grain: fine grain over the whole frame.
- Chromatic aberration: faint colour fringes on hard edges near the corners.
- Halation: a soft warm glow around the brightest lights, as on film.
- Dust on the lens: a few soft specks, visible against bright areas.
- Vignetting: corners that fall gently into shadow.
- Gate weave: the tiny drift of a film frame in a projector, for video only.
Two or three is usually enough. All six at once pulls the eye to the effect instead of the scene.
6. Grade the colour, then finish the image
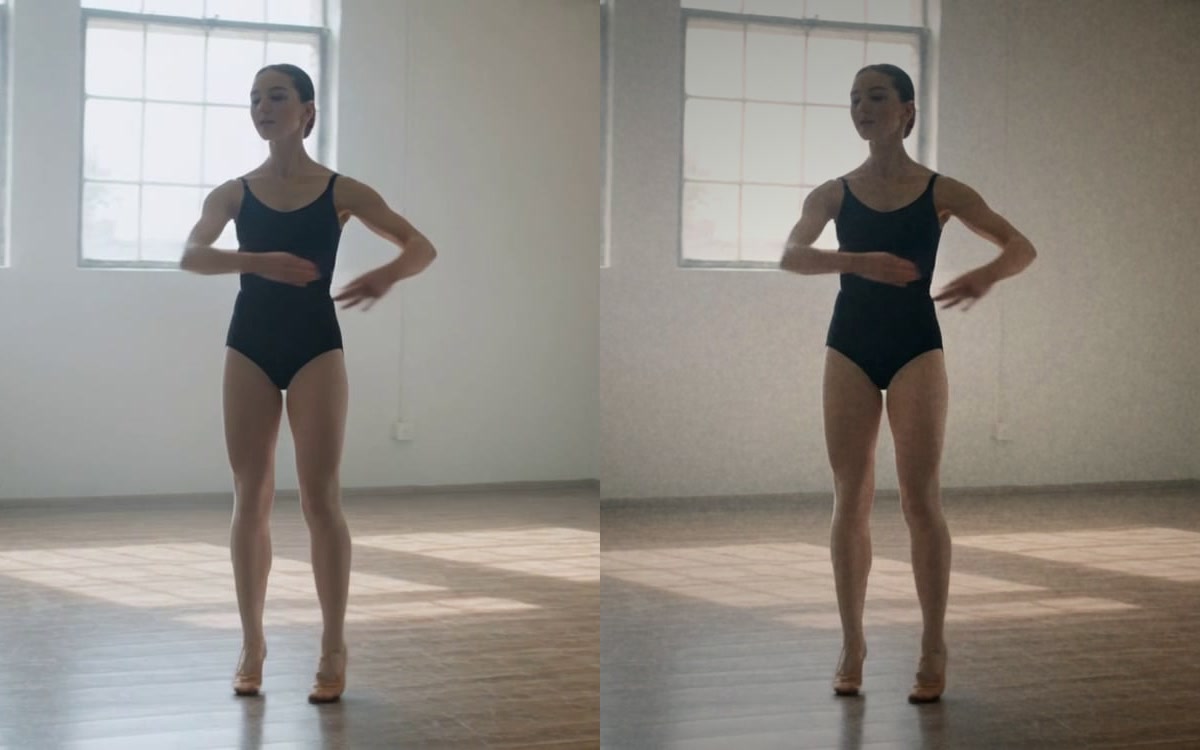
Generated colour is often a little too clean and too saturated. A grade preset gives the whole frame one treatment: Warm film stock for soft highlights and lifted blacks, Bleach bypass for a hard, desaturated look, Neutral when the product colour must be exact.
For a still there is one more step after it is made: the Finish tool. It adds film grain in six styles, a vignette and a small colour correction for warmth, contrast and saturation, without redrawing anything in the picture. It starts on a filmic setting and costs a fraction of a cent. For clips, the look goes into the prompt with the presets above; Finish works on images for now.
7. A voice that belongs to the face
Nothing breaks a scene faster than lips that run behind the words. A voice laid over a finished clip afterwards almost always drifts, and people notice within a second.
The way that holds up is one generation in which the character speaks. Give a character its voice in its folder under Characters; Kling 4.0 then says the line itself, in that voice, with the lips made for those words. The Realistic dialogue scene template does this with two characters, each in their own voice, and the UGC campaign in dGEN Influencer does it for every script you write.
8. Write the words for the ear
A voice-over that sounds written gives the whole film away. Short sentences, words people say out loud, one idea at a time. The assistant checks every voice-over it writes for the phrases that make text sound generated, and rewrites them. When you paste your own script, it keeps your words exactly as they are.
A short checklist
Before you press Run the clips, go through your keyframes with these questions.
- Can you point to where the light comes from in every shot?
- Does each person do one thing?
- Is there one camera move, and is it small?
- Is it the same face, outfit and place in every keyframe?
- Are two or three imperfections on, and not six?
- Does the voice come from the clip itself, not from a layer added later?
Questions
Which imperfections should I start with?
Film grain and Vignetting on almost anything. Add Halation for night scenes with lamps or neon, Dust on the lens for sunlit shots, and Gate weave only when the film itself should feel old.
Can I use the Finish tool on a clip?
Not yet: Finish works on images. For a clip, put the look in the prompt with the grade and imperfection presets, which the model then films that way.
Why make keyframes first?
A still costs roughly a tenth of a clip. You see in a few cents whether the story, the face and the place hold together, and only pay for motion on shots you approved.
Does the enhancer change my words?
It writes the prompt out and adds what is missing, such as where the light comes from. Preset phrases stay word for word, and a light you set yourself stays as you set it.
Why does my character sound wrong?
Check that it has a voice in its folder. Without one, the video model picks a voice by itself, and that voice changes from clip to clip.
Read next
Put this guide to work
Open the studio and try what you just read. You start with 1,000 free credits.
Get early access