
What it is
A generated image is often too clean: no grain, even light into every corner, colours a little too bright. Real film and real lenses never look like that, and people notice it without knowing why.
Finish adds what a camera adds. Film grain in one of six styles, a vignette that darkens the corners, and a small colour correction for warmth, contrast and saturation. It starts on a filmic setting, so one press is often enough.
What it is good at
It costs a fraction of a cent, so you can finish every image you keep.
Filters only: the people, the product and the text in your image stay exactly as they are.
Modern, analog, Kodak, Fuji, cinematic and newspaper, each with its own size and character.
Where it struggles
- Images only for now. A clip gets its look from the prompt, with the grade presets.
- It does not fix a bad image: a wrong hand or a strange face stays wrong, just with grain on it.
How to prompt it
There is no prompt. Bring an image, change the sliders if you want, and run it.
An example that shows what that means
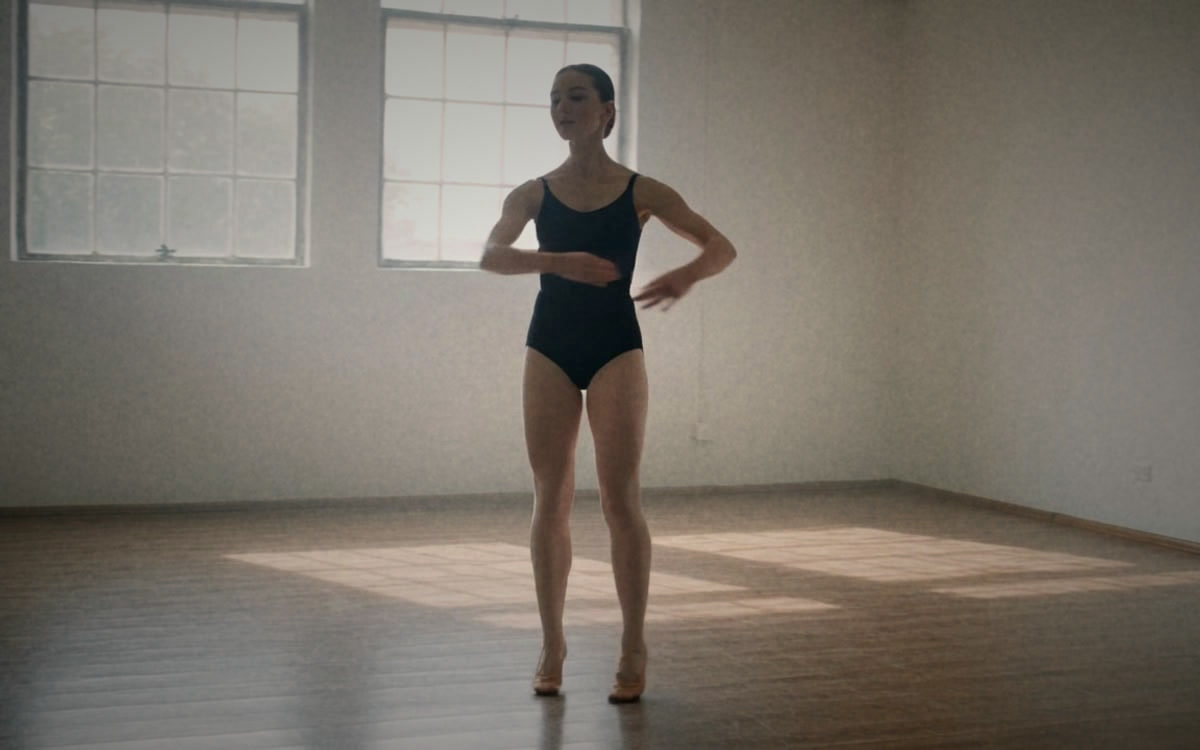
A dancer in an empty studio with Kodak grain, a soft vignette and a slightly warmer, less saturated colour, so it looks like a still from a film.
What we offer here
Straight from the catalogue, so this list never goes stale. The price is the provider’s published rate with our markup on top, and it is on the button before you run anything.
Questions
Which grain style should I pick?
Cinematic or Kodak for most images; Fuji for cooler greens; newspaper for a hard, high-contrast look.
Will it change my image?
Only the grain, the corners and the colour. Nothing in the picture is redrawn.
What does it cost?
A fraction of a cent per image. The amount is on the button.
Alternatives
Guides with Finish
Next
Sources
Try Finish in the studio
Compare them on your own prompt instead of on a demo. You start with 1,000 free credits.
Get early access