
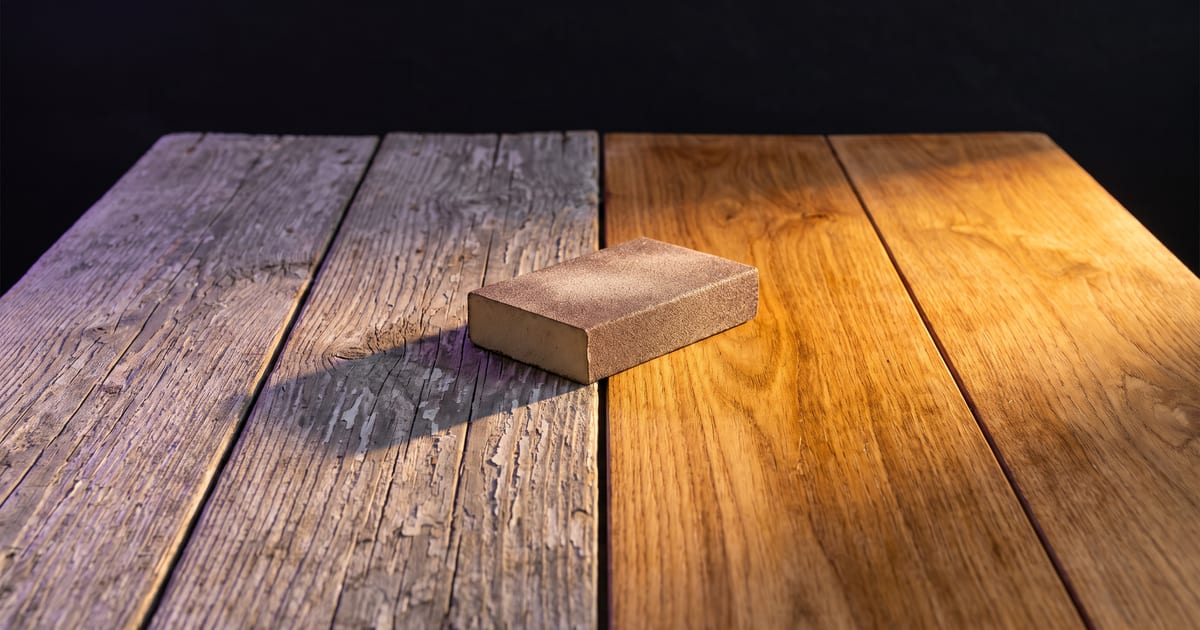
Why before and after works
A before and after image shows the result of a product or service in one look. Cleaning products, renovations, styling: the change is the message.
Make the two match
If more changes than the product does, the image stops being believable.
- Same angle, same framing, same light.
- Change only what the product changes.
- Make the after from the before, not as a new image.
Be honest
An after image that shows more than the product can do misleads customers, and in ads that can break the rules. Use it to illustrate a real result, and say when an image is an illustration.
Do not use a generated before and after as proof of a result you have not measured.
How the template keeps the room
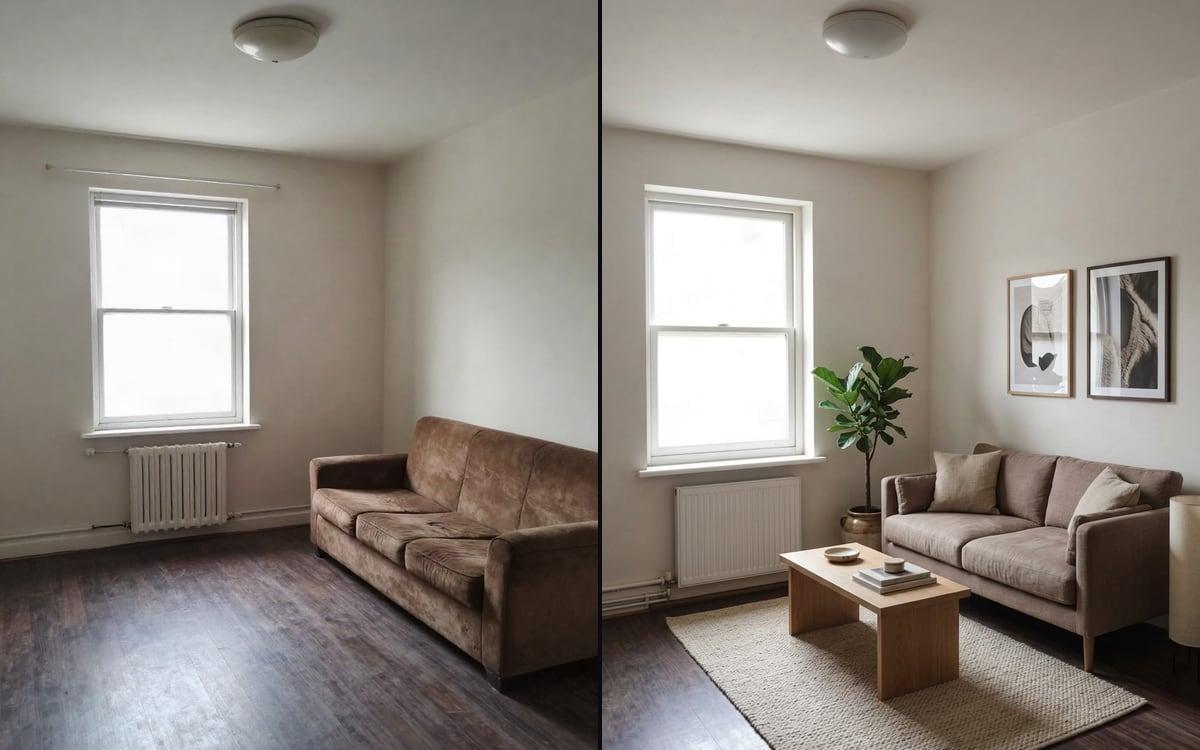
The Before and after template takes one photo of a space as it is now and makes the after from it with an edit model. Because the model edits your photo instead of drawing a new one, the walls, the windows and the camera position can stay where they are.
The prompt does the rest, and its order is the point. It first says what must stay the same, and only then what changes. Leave the first part out and you get a lovely room that is not yours.
Step by step
If the window moved or the ceiling got higher, the pair stops being a before and after. Run it again before you use it.
- Take the before photo from the spot where the after should be seen, at eye height, in daylight.
- Open the Before and after template and drop the photo into the upload slot.
- Keep the first part of the prompt, what stays the same, and change only the style in the second part.
- Run it, then lay the two side by side at the same size and compare the edges: window frames, door, ceiling line.
An example prompt
For a living room: "Keep the walls, the window, the door, the floor plan and the camera position exactly as in the photo. Restyle the room in a warm Scandinavian style: a light oak floor, a pale linen sofa, a round wool rug, one large plant by the window and soft daylight." The first sentence locks the room. The second changes only what a restyling would change.
Run one style per pass, such as Scandinavian or industrial. Two clear options give a client something to choose between; one mixed style gives them nothing to compare.
Turn the pair into a clip
A still pair works on a product page. For social media, a short clip that moves from before to after holds attention longer. The Transition tool takes a first frame and a last frame and makes the clip that runs between them.
Use your before photo as the first frame and the after as the last. Both ends are fixed, so the clip lands exactly on the result you approved. Keep the two the same size, because the clip follows the shape of the first frame.
Beyond rooms
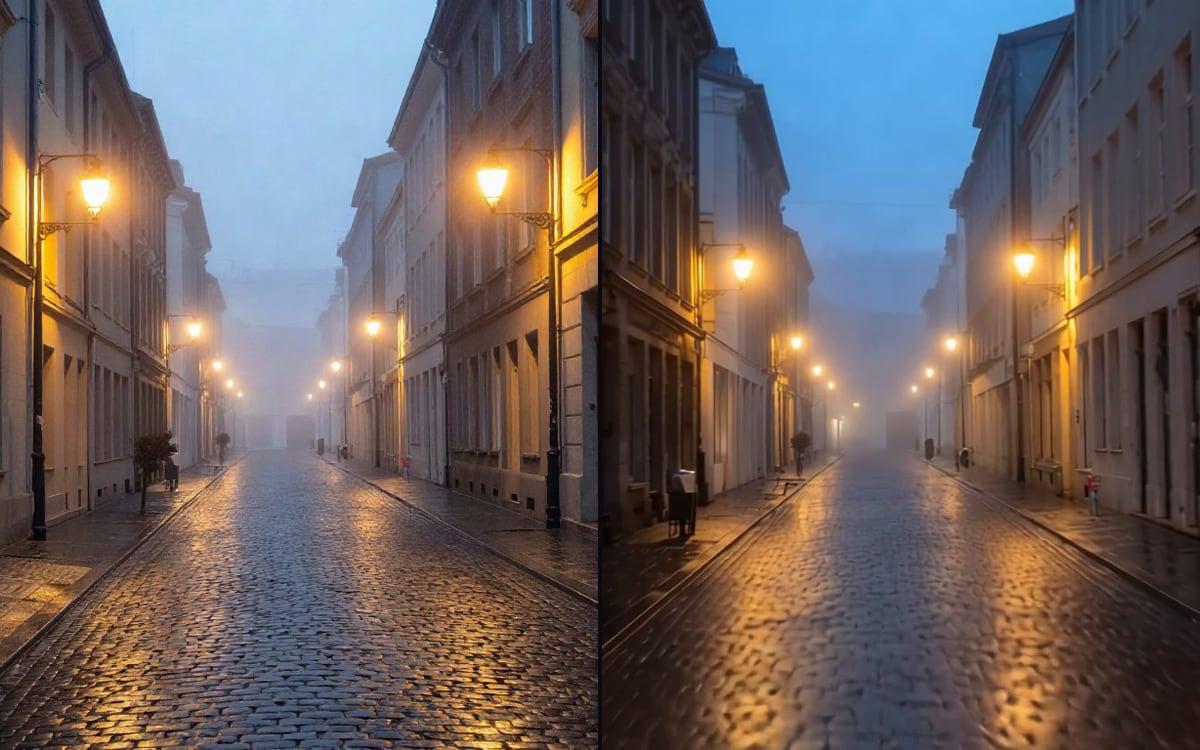
The rule is the same every time: lock what does not change in the first sentence, then describe the change.
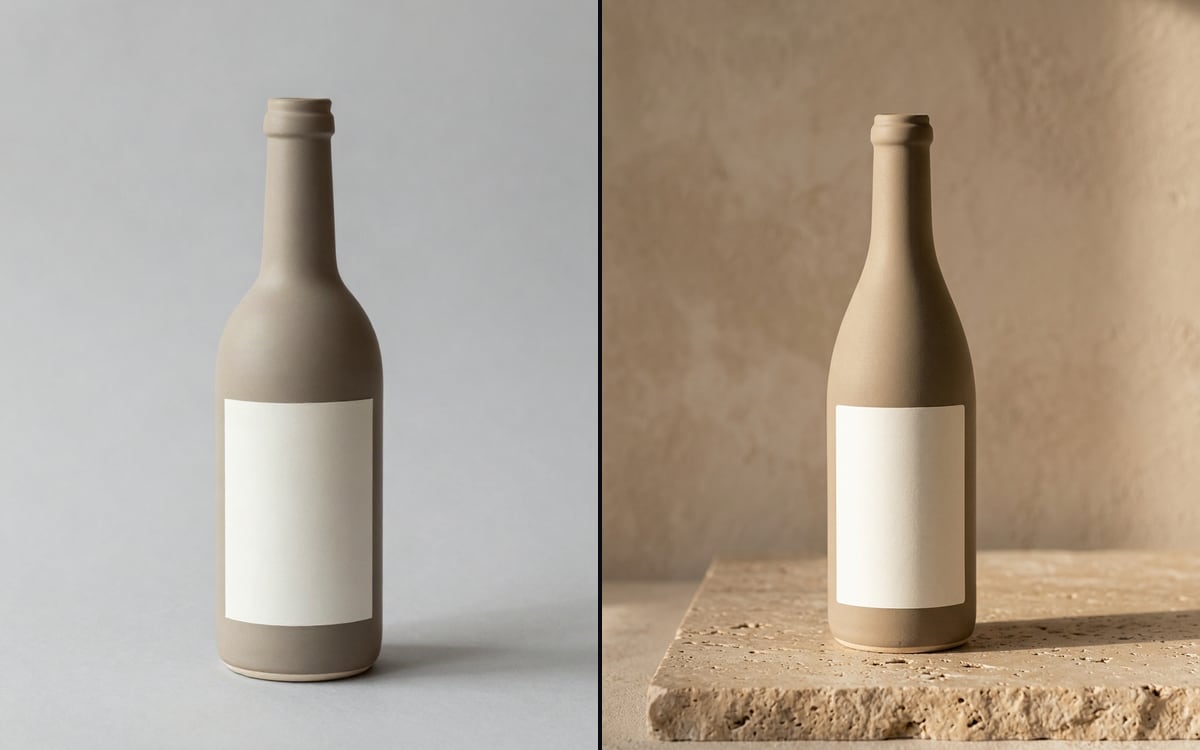
- A product: a closed box and the open box, a dull surface and the cleaned one, made from one photo with an edit model.
- A garden: the same view in winter and in summer.
- A shop window or a facade: the current look and a proposed new one, for a client meeting.
Where it goes wrong
A wide-angle phone photo bends straight lines near the edges, and the after can straighten them differently. Shoot from a little further back, or crop the edges off both images.
Light is the other trap. If the after is brighter than the before, part of the difference is the light and not the product or the restyling. Keep the light in the prompt the same as in the photo when the change itself has to be honest.
Presenting the pair
Show the before on the left and the after on the right, at the same size and the same crop. Readers expect that order, and a pair that is cropped differently looks like two different places even when it is not.
For a slider on a website, export both at exactly the same pixel size. For a social post, a 4:5 frame split into two holds up on a phone. For a presentation, put the two in a 16:9 slide with a short line under each: what was there, what changed.
Questions
Can I start from my own photo?
Yes. Your own before photo gives the most believable pair.
Which format?
Side by side in 16:9, or two separate images for a slider.
Who uses the before and after template?
Interior designers, estate agents and builders who want to show a client the result before the work starts, and brands that sell a visible change, such as cleaning or styling products.
Can I make a video of the change?
Yes. Use the before as the first frame and the after as the last frame in the Transition tool. You get a short clip that moves from one to the other and lands exactly on your after.
Do I need to label the after image?
If it shows a result that has not been made yet, say so, for example "design impression". For ads, also follow the platform rules on realistic generated content.
Read next


Try it in the studio
Open the studio and try what you just read. You start with 1,000 free credits.
Get early access